Renovation and new projects are contrastingly different in design, development and implementation. While both have fun and challenging aspects, renovating old spaces, especially the interior walls renovation can sometimes become tricky.
Renovating the interior walls of a house can be a significant project, and the specific steps involved may vary depending on the scope of the renovation and the condition of the existing walls.
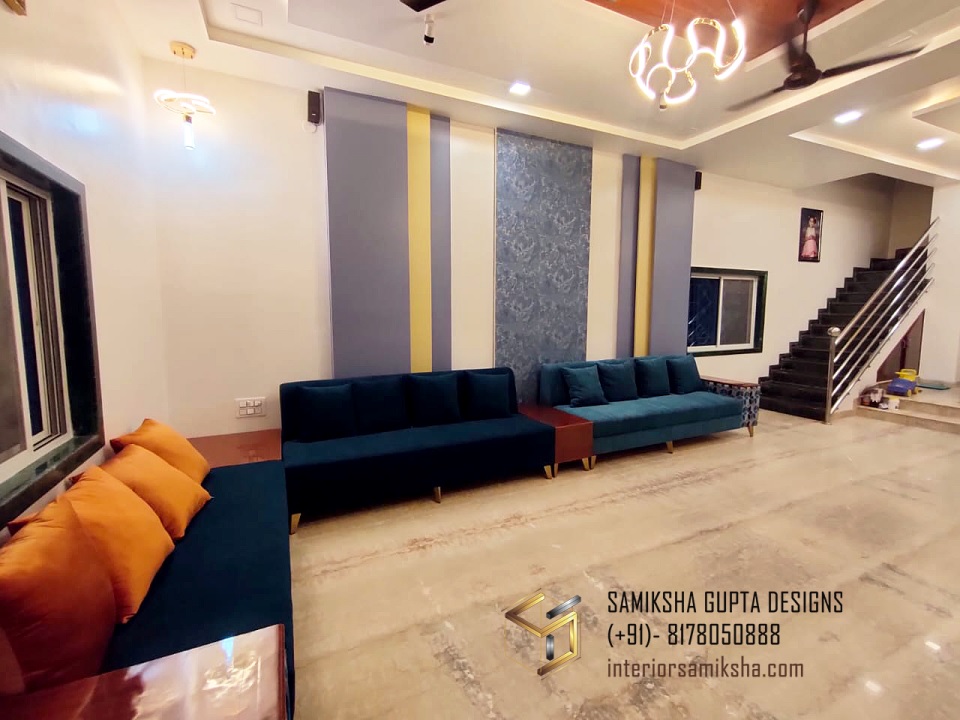
I completed a project last year which required me to redo the living and dining space of the bungalow. This is how the sofa’s back wall looked before-
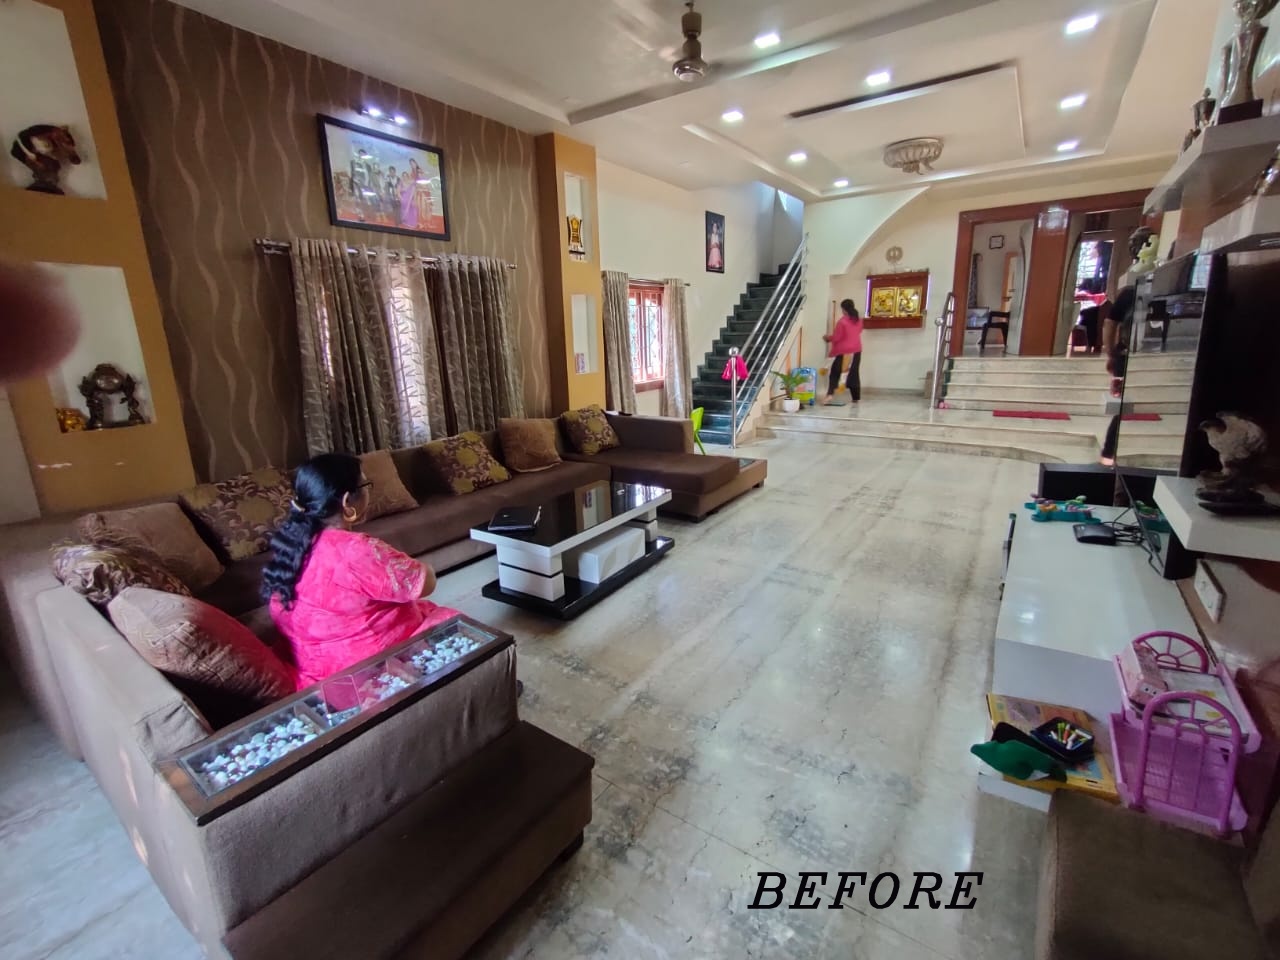
Heavy panelling with niche details on the sides and brown wallpaper in the middle around the window. Of course, the side protrusions were to hide the columns. But, I felt it was too heavy and unnecessary. So, I proposed a different panelling style.
Here are some general outlines of the steps involved in renovating a house’s interior walls. I considered these, and you should too!
-
Assessment and Planning:
This should be the first step, even before you take up the project. I speak with the client, and their requirement and understand their taste so I can propose the right plan and design to them.
- Evaluate the condition of the existing walls to determine the extent of renovation required. Check technical feasibility.
- Set a budget for the project. Have an open conversation about this with the client and bring everyone on the same page.
- Create a design or style plan for the new walls, including paint colours, textures, and any structural changes.
-
Gather Materials and Tools:
- Purchase the necessary materials, such as paint, drywall, plaster, primer, and any additional construction materials.
- Gather the tools needed, including paint brushes, rollers, plastering tools, sandpaper, and safety equipment.
-
Clear the Space:
- Remove furniture and other items from the room to create a clear working area.
For this particular project, we were also required to polish the entire floor. But we kept it to be done in the last stage.
-
Protect Surrounding Areas:
- Cover floors and any nearby furniture with drop cloths or plastic sheeting to protect them from dust and paint splatter.
This has to go without saying. If you’re going to do any sort of demolition work, this becomes all the more important.
Proper floor-covering is also required for false ceiling work that also includes electrical points addition, shifting and some civil changes.
-
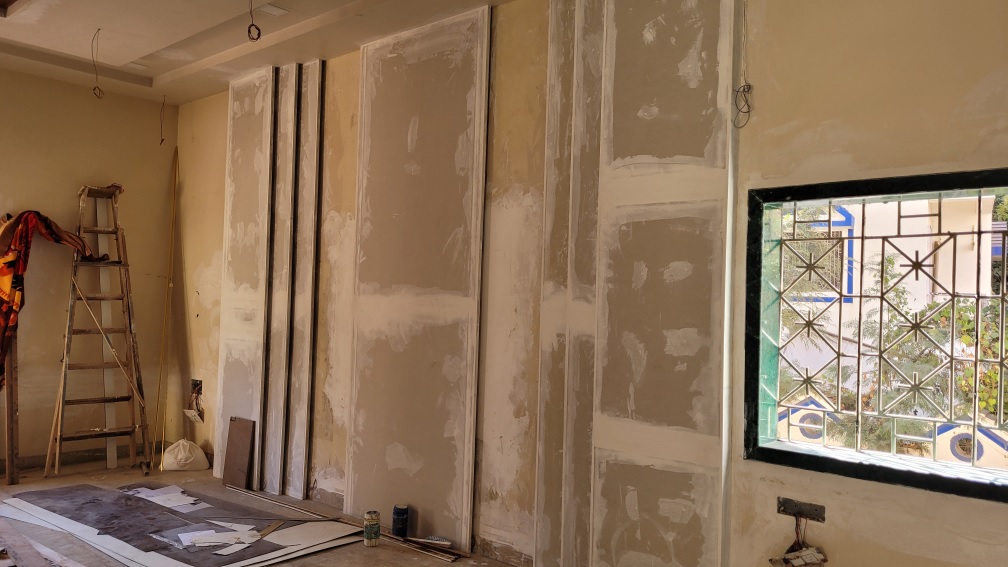
Repair or Replace Drywall:
Repairing or replacing drywall is a critical aspect of renovating interior walls, as it ensures a smooth and flawless surface for painting or applying texture.
Begin by closely examining the existing drywall on the interior walls. Look for any signs of damage, imperfections, or wear and tear.
Common issues to watch for include cracks, holes, water damage, mould or mildew, and uneven surfaces.
-
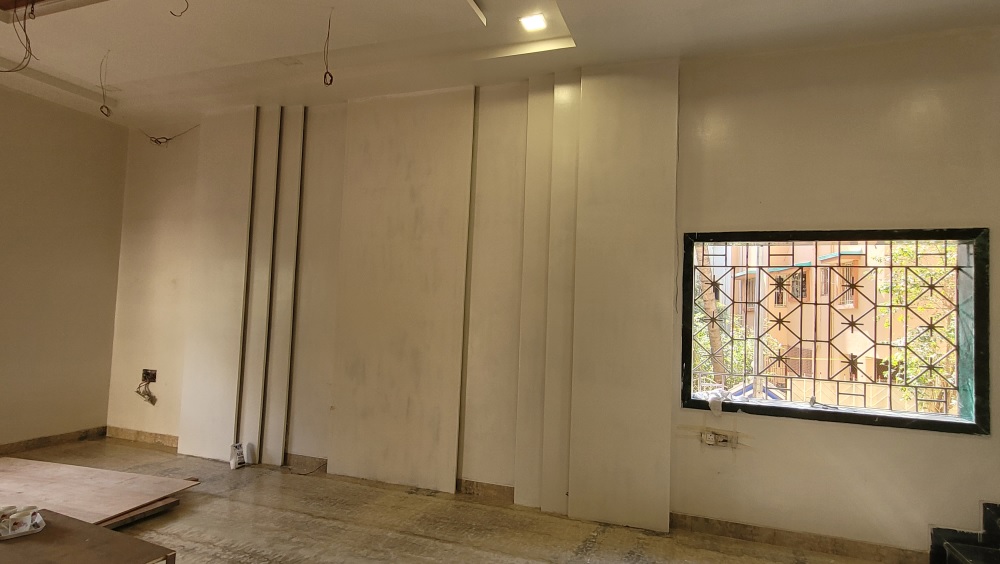
Prep the Surface:
- Sand the walls to create a smooth surface for painting or applying texture. Remove old wallpaper or any wall treatment/finish done earlier.
- Clean the walls to remove dust and dirt.
- Apply a primer to seal the surface and improve paint adhesion.
-
Painting or Wallpapering:
This is a crucial phase of renovating your interior walls, as it involves adding colour, texture, and style to create the desired aesthetic for your living space.
- Apply the chosen paint colour or wallpaper according to the manufacturer’s instructions.
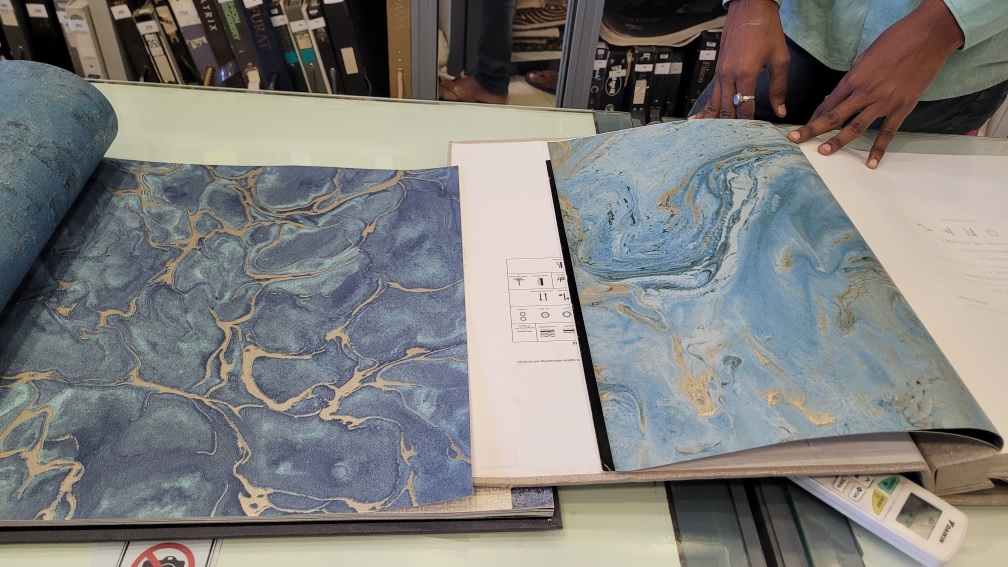
(I usually do this selection along with the client. It’s a fun process when you have your client equally involved in the design and selection journey).
- Use painter’s tape to achieve clean lines at edges and corners.
-
Texture Application (optional):
The “Texture Application” step in the renovation of interior walls is an optional but impactful process that can add depth, character, and visual interest to your living space. The texture is often used to create unique design elements or to hide imperfections in the wall’s surface.
- If you want to add texture to the walls, apply the texture material and allow it to dry before painting.
-
Finishing Touches:
- Install any trim, baseboards, or crown moulding, if desired.
Trim, baseboards, and crown moulding can add a polished and architectural look to your walls. Depending on your design preferences, install these elements along the edges of the walls where they meet the floor, ceiling, and corners. Ensure they are properly measured, cut, and secured in place.
-
Clean-up:
- Remove protective coverings from floors and furniture.
You can now do the polishing work on the floor if required. Because this project also included a new TV unit and dining table, we completed the carpentry work before going ahead with the clean-up.
- Dispose of the waste materials properly, including paint cans and other debris.
-
Inspect and Final Touch-Ups:
- Carefully inspect the renovated walls for any imperfections, and touch up any areas that need additional attention.
-
Reassemble the Room:
- Bring back and arrange your furniture and decor.
Add additional décor elements too. These are what’s going to give the final aesthetic appeal to the space.
-
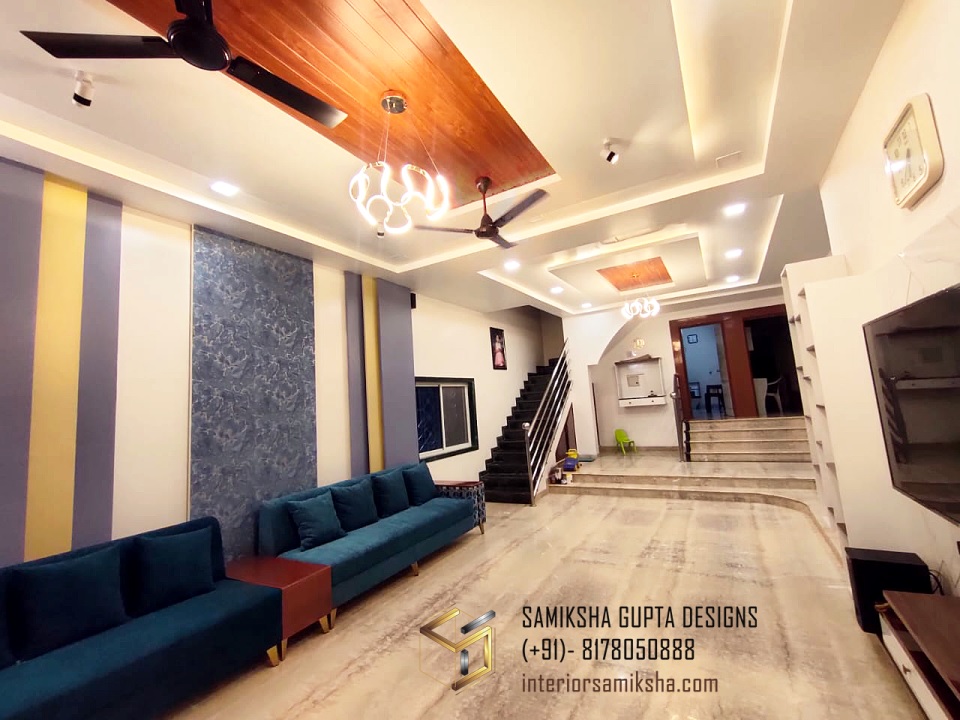
Enjoy Your Renovated Space:
This is the most rewarding part of the process. Not just for you, but for your interior designer as well. It’s a culmination of efforts and vision.
- Step back and appreciate the newly renovated interior walls of your house.
By personalizing the space, maintaining it, and sharing your experience with others, you can make the most of your renovated interior walls and enjoy the benefits for years to come.
Keep in mind…
The specific steps and the complexity of the project can vary based on the size of the room, the extent of the renovation, and your design preferences.
Additionally, if your renovation project involves structural changes, such as removing or adding walls, it’s essential to consult with a professional interior designer, contractor or architect to ensure the changes meet building codes and safety requirements.
If you’re looking for a home renovation and need a professional designer to guide you through it, feel free to get in touch with me.
Cheers,
Samiksha